Switching from spotify apple music or simply wanting to sync your favorite Spotify playlists to Apple Music? You don’t have to manually recreate hours of curated playlists—there are simple, free ways to get the job done. Whether you’re looking totransfer spotify playlist to apple music free or need a reliable apple music transfer tool, this guide covers everything, including step-by-step instructions for the most popular tool: Songshift. We’ll also explore other top apple music transfer tool options and troubleshoot common issues.
Prerequisites Before You Start
Before importing your Spotify playlist to Apple Music, ensure you meet these quick requirements to avoid delays:
- An active Spotify account with the playlists you want to transfer.
- An Apple Music subscription (required to add and sync playlists to your Apple Music library).
- “Sync Library” enabled on your Apple device: On iPhone/iPad, go to Settings > Apps > Music and toggle on “Sync Library”; on Mac, open the Music app > Settings > General and enable it.
- Stable internet connection.
- The latest version of Spotify, Apple Music, and any apple music transfer tool you use.
Method 1: Use Songshift
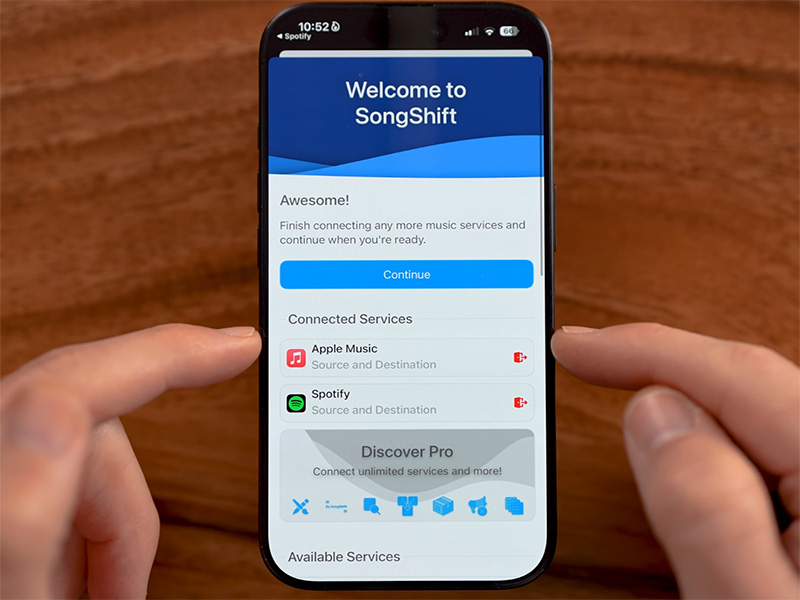
Songshift is the most popular, user-friendly apple music transfer tool—and it’s free for basic transfers. It’s even partnered with Apple to simplify moving playlists from Spotify to Apple Music directly within your device’s settings. Here’s how to use it:
Step-by-Step for iPhone/iPad
- Download Songshift from the App Store.
- Launch Songshift and tap the “+” icon in the top-right corner to create a new transfer .
- Tap Set Up Source, then select Spotify from the list of services. Log in to your Spotify account and grant Songshift permission to access your playlists.
- Choose the Spotify playlist(s) you want to import to Apple Music. You can select one or multiple playlists at once.
- Tap Set Up Destination, then select Apple Music. Log in with your Apple ID and authorize access to your Apple Music library.
- Review your transfer: Songshift will match Spotify tracks to Apple Music’s catalog. If some tracks don’t have a match, it will show “Needs Review”.
- Tap Start Shift to begin the transfer. The time depends on the size of your playlist—small playlists take 30 seconds or less; larger ones may take a few minutes.
- Once complete, open the Apple Music app—your imported Spotify playlist will appear in your library under “Playlists”!
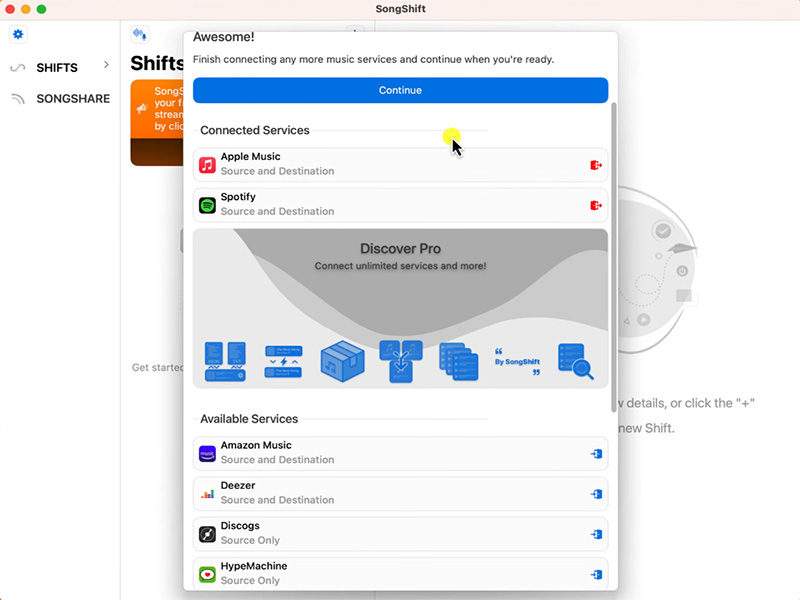
Step-by-Step for Mac
- Download Songshift from the Mac App Store.
- Launch Songshift and sign in with your Apple ID.
- Click Add Source, select Spotify, and log in to your Spotify account.
- Select the playlist(s) to transfer, then click Add Destination and choose Apple Music.
- Click Start Transfer—once done, your playlist will sync to your Apple Music library across all your Apple devices.
Method 2: Transfer Spotify Playlist to Apple Music Free
If you don’t want to use a third-party apple music transfer tool, you can transfer spotify playlist to apple music free using Apple’s built-in transfer feature or a free web tool like TuneMyMusic. Here’s how:
Option A: Apple‘s Built-In Transfer
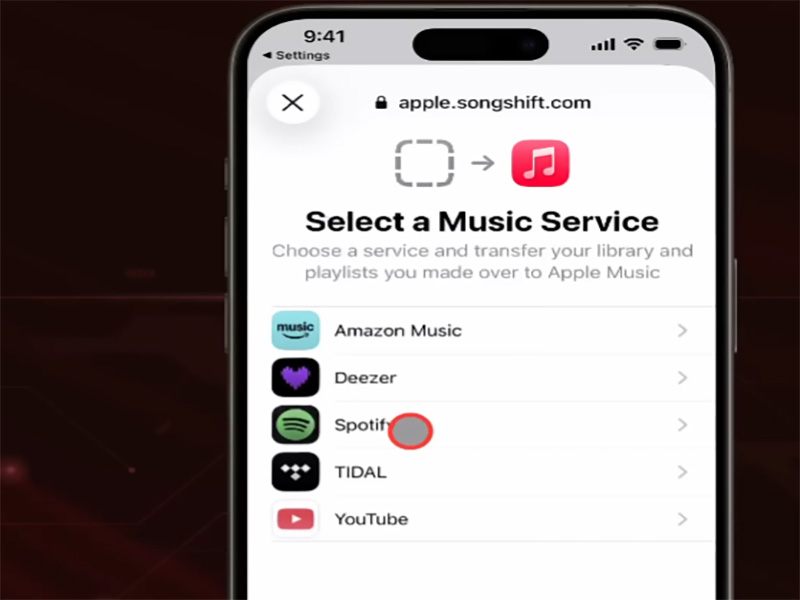
Apple lets you transfer playlists directly from Spotify to Apple Music via your device’s settings or the web—no extra apps required:
- On iPhone/iPad: Go to Settings > Apps > Music and tap Transfer Music from Other Music Services.
- On the web: Go to music.apple.com, log in with your Apple ID, click your profile icon, and select Transfer Music.
- Select Spotify from the list of services, log in to your Spotify account, and grant permission.
- Choose the playlists to transfer, then tap/click Add to Library.
- Wait for the transfer to complete—Apple Music will match tracks to its catalog and notify you when done. Missing tracks will be marked for review.
Option B: Free Web Tool
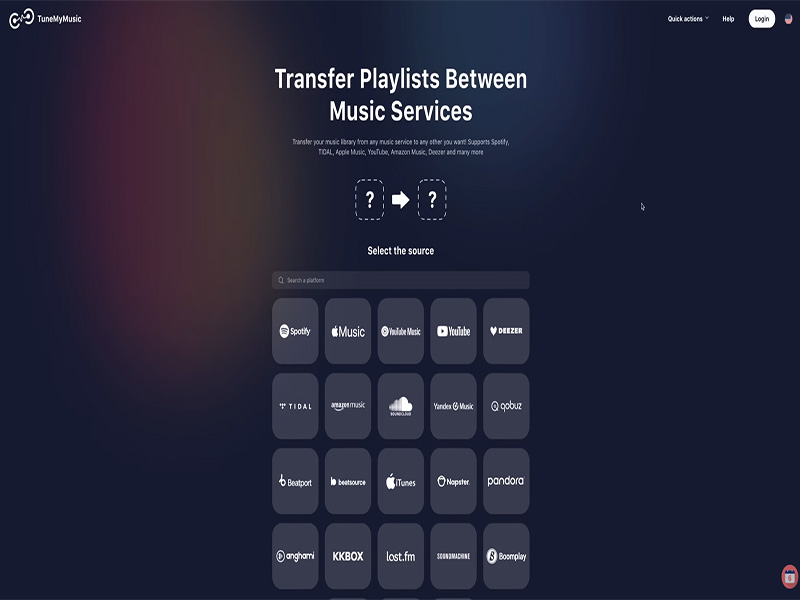
TuneMyMusic is a free web-based apple music transfer tool that works on any device. It’s great for transferring playlists without downloading apps:
- Go to tunemymusic.com in your browser.
- Click Let’s Start, then select Spotify as your source service.
- Log in to Spotify and select the playlist(s) to transfer.
- Choose Apple Music as your destination, log in to your Apple ID, and click Transfer.
- Once complete, check your Apple Music library—your playlist will be there!
Common Issues & How to Fix Them
Even with the best apple music transfer tool, you may run into small hiccups. Here are quick fixes for the most common problems:
1. Playlist Not Showing Up in Apple Music
Fix: Ensure “Sync Library” is enabled. Close and reopen the Apple Music app, or log out of your Apple ID and log back in. For web transfers, wait 5–10 minutes—syncing can take time.
2. Missing Tracks After Transfer
Fix: Most missing tracks are due to licensing differences (some Spotify songs aren’t available on Apple Music) or regional restrictions. Use the “Review” feature in your transfer tool to select alternative versions. You can also search for missing tracks manually in Apple Music and add them to the playlist.
3. Transfer Failed (Error Message)
Fix: Update your transfer tool, Spotify, and Apple Music apps. Check your internet connection—weak Wi-Fi causes failures. Log out of your Spotify/Apple ID in the transfer tool, then log back in and retry. If using Songshift, restart the app and create a new “Shift”.
4. Can‘t Select Spotify Playlists in the Transfer Tool
Fix: Ensure you granted full permission to the transfer tool when logging in to Spotify. Log out of Spotify in the tool, clear your browser/app cache, and log back in.
Final Thoughts: Import Spotify Playlist to Apple Music Easily
Importing your Spotify playlist to Apple Music doesn’t have to be a hassle—whether you use Songshift, Apple’s built-in transfer feature, or FreeYourMusic, you can transfer spotify playlist to apple music free in minutes.
Remember to enable “Sync Library” to ensure your imported playlists appear on all your Apple devices. Avoid manual playlist recreation—let a reliableapple music transfer tool do the work for you, so you can focus on enjoying your music.